
For day two of Jenni from the blog Story of My Life's "Blog Everyday in May Challenge I'm going to do a DIY project. The blog assignment is:
"Day 2, Thursday: Educate us on something you know a lot about or are good at. Take any approach you'd like (serious and educational or funny and sarcastic)."
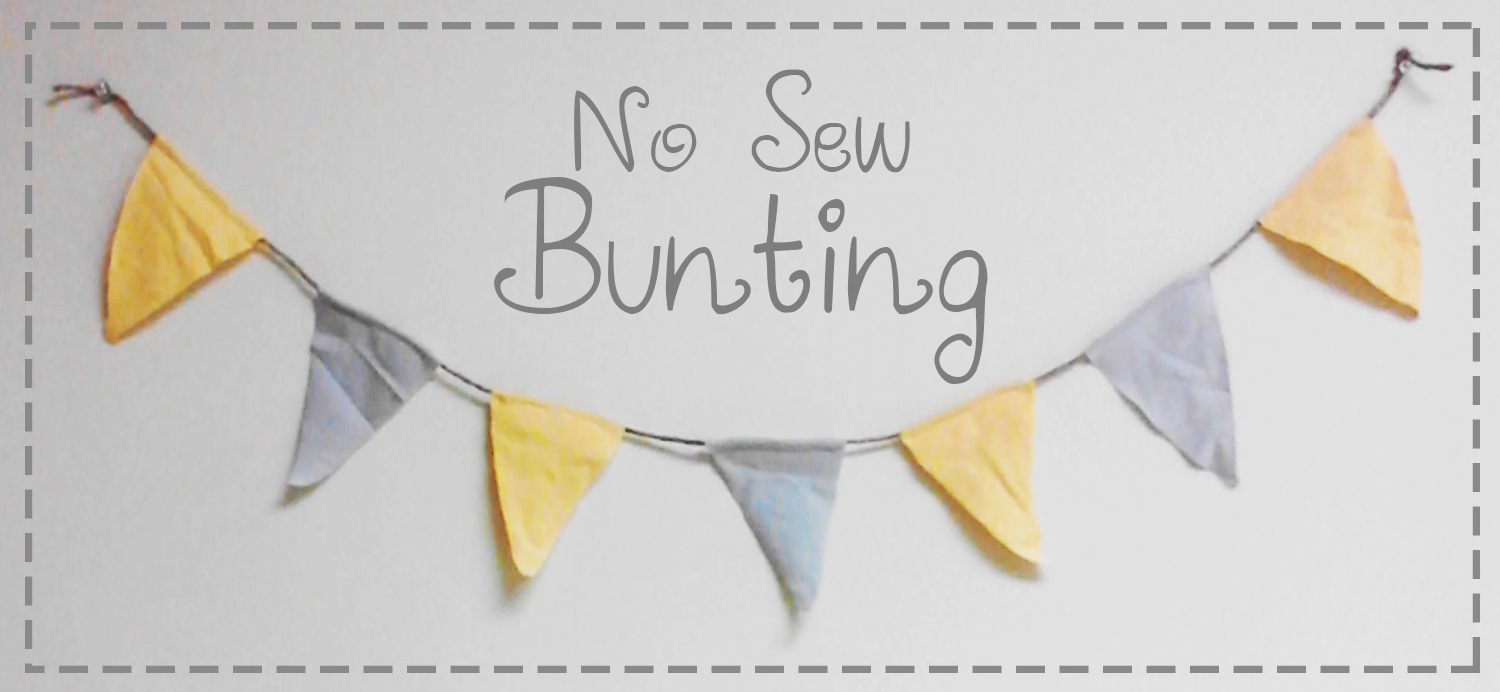
I'm very good at DIY stuff. I'm pretty positive that if you give me all the correct materials, and tools for a project I can do it. This DIY is a simple NO SEW bunting. I'm not a very good at sewing but if you want sew your bunting go for it! I'd love to better myself in the sewing department but I haven't gotten around to that yet. I love the bunting fad that is going around right now they make lovely little accents to rooms. This particular bunting I've created is for above my computer and workspace.
Step1: Gathering Materials. I used two old t-shirts for my fabric. I'm very into gray lately; gray with yellow is an awesome color combo. I am going for light and cheery here. I've seen this color combo used in a wedding and I fell in love. You'll also need a good pair of scissors and some string/rope. I had some thick hemp string lying around and decided it fit the look I was going for. Last but not least, and also not pictured, I used two kinds of tape; double-stick and white masking.

Step 2: Preparation. Cut out your triangles. I wasn't really trying hard to make these perfect. I eyeballed most of this. You can definitely cut measure everything out, even make a paper or cardboard template. I cut some of the same sized rectangles out first, then used my first triangle as my template for the others. Sizes are all really up to you. The amount of triangles you need is really based on how long you want you're overall bunting. I made eight triangles and only used seven in my final product. My Bunting came out to 41 and a half inches long. My triangles are 4 inches wide by 5 and a half inches long.

Step 3: Assembly. For the first part of this step I laid everything out. As you can see I left space between my triangles you can arrange them how ever you like. Now roll a piece of double stick tape around the area of string the triangle would cover. Next I wrapped the wide end of the triangle over the "tape covered" section of rope. Finally I secured the wide end to the back of the triangle with a piece of white making tape. Once you are done taping all of your triangles the only thing left to do is find a pretty spot to hang your new bunting!
*I've done this same project with hot glue in the past and it worked just fine, and like I said before you could also sew this project but you really don't have to! I'm sure you can even go crazy and use some printed tape and let it show the possibilities are endless!

I could have also ironed my fabric a bit lol

Photos by Me
No comments:
Post a Comment